


Troubleshooting Low Voltage Lighting Issues: A DIY Guide
Posted by AQLightning on Apr 4th 2024
Low voltage lighting systems are popular choices for outdoor illumination due to their energy efficiency, versatility, and ease of installation. However, like any electrical system, they can encounter issues from time to time. In this comprehensive DIY guide, we'll explore common low voltage lighting problems and provide step-by-step solutions to troubleshoot and resolve them. Whether you're dealing with flickering lights, dim illumination, or complete fixture failure, this guide will empower you to diagnose and fix the issue with confidence.
Understanding Low Voltage Lighting Systems:
Before diving into troubleshooting, it's essential to understand how low voltage lighting systems work. These systems typically operate at 12 volts, supplied by a transformer that converts standard household voltage (120 volts) to a safer and more energy-efficient level. The low voltage current powers the lights through a series of cables or wires, connecting them to the transformer and control devices such as timers or photocells. Understanding the components and layout of your low voltage lighting system will be instrumental in diagnosing and resolving issues effectively.
Common Low Voltage Lighting Problems and Solutions:
Now, let's explore some common issues you may encounter with your low voltage lighting system and how to troubleshoot them:
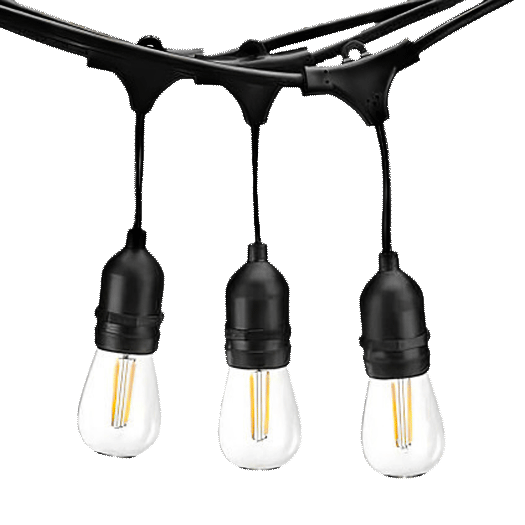
- Flickering Lights:
- Cause: Flickering lights can be caused by loose connections, corroded contacts, or incompatible bulbs.
- Solution:
- Check all connections between the transformer, cables, and light fixtures. Tighten any loose connections.
- Inspect the bulbs for signs of damage or corrosion. Replace any faulty bulbs with compatible replacements.
- Ensure that the wattage of the bulbs matches the transformer's capacity. Using bulbs with higher wattage can overload the system and cause flickering.
- Dim Illumination:
- Cause: Dim lighting may result from voltage drop due to long cable runs, inadequate transformer capacity, or dirty contacts.
- Solution:
- Measure the voltage at various points along the cable runs using a multimeter. If the voltage drop is significant, consider installing additional transformers or using thicker cables to minimize voltage loss.
- Clean the contacts on the transformer, cables, and light fixtures using a wire brush or contact cleaner to ensure good electrical conductivity.
- Replace old or undersized transformers with higher capacity units to provide adequate power to all fixtures.
- Intermittent Operation:
- Cause: Intermittent operation can be caused by faulty connections, moisture ingress, or malfunctioning control devices.
- Solution:
- Inspect all connections for signs of corrosion, moisture, or damage. Replace any corroded or damaged connectors and ensure a tight fit.
- Check for moisture ingress in outdoor fixtures and cables. Seal any gaps or cracks with silicone sealant to prevent water intrusion.
- Test control devices such as timers or photocells for proper operation. Replace any malfunctioning components as needed.
- Complete Fixture Failure:
- Cause: Complete fixture failure may result from internal wiring issues, transformer failure, or physical damage.
- Solution:
- Inspect the wiring inside the fixture for loose or damaged connections. Repair or replace any faulty wiring.
- Test the voltage output of the transformer using a multimeter. If the voltage is absent or significantly lower than the rated output, replace the transformer.
- Check for physical damage to the fixture, such as cracks or breaks. Replace damaged fixtures with new ones to ensure proper functionality.
Troubleshooting low voltage lighting issues doesn't have to be daunting. With a basic understanding of how these systems work and a systematic approach to diagnosing and resolving problems, you can keep your outdoor lighting shining bright all year round. By following the steps outlined in this DIY guide, you'll be able to identify the root cause of any issue and implement effective solutions with confidence. So, roll up your sleeves, grab your tools, and get ready to illuminate your outdoor space with ease!